Sewing brings so much satisfaction. Doesn't it?
Welcome back to the third blog post of this collaborative series!
Previously, I have shown you how to sew a simple crop top and how to hack that top into a tiered dress with pockets. Now let’s step up the game and move on to sewing pants!!
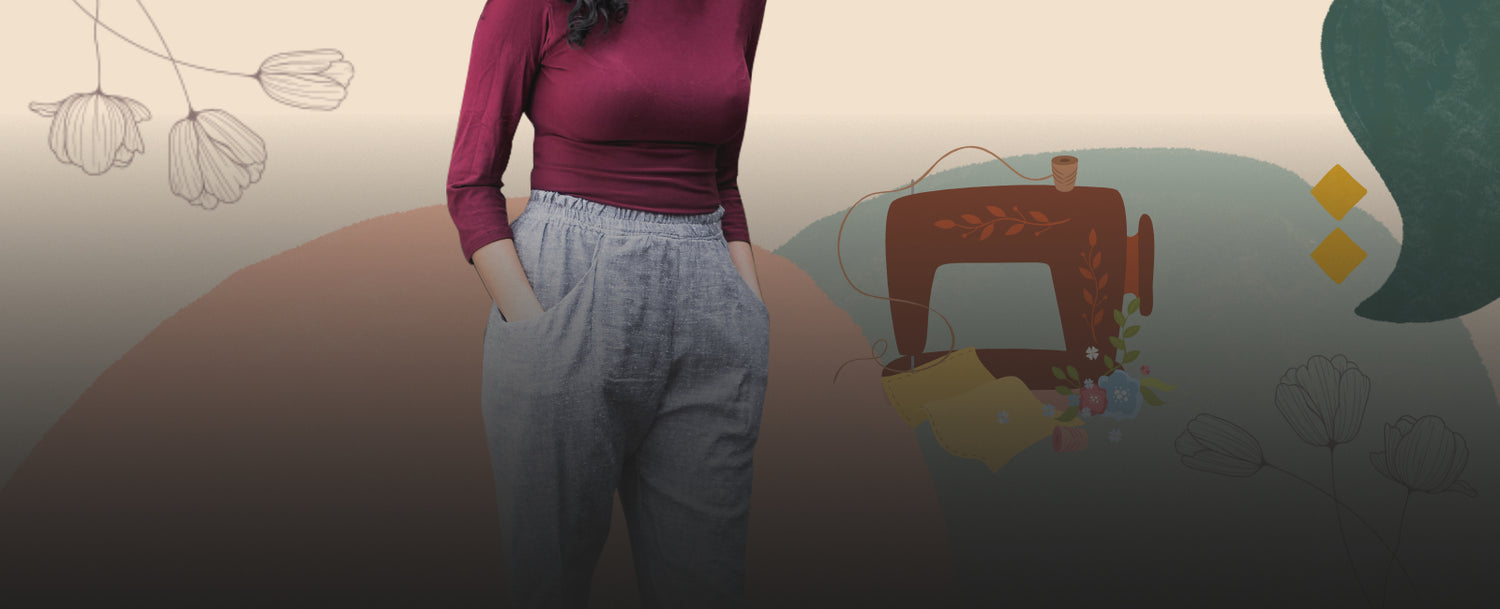
For today’s post, I will show you how I made these comfortable, casual, and playful elastic-waisted pants called the Clyde pants by Elizabeth Susan Studio. Check out all the different versions of these pants on here.
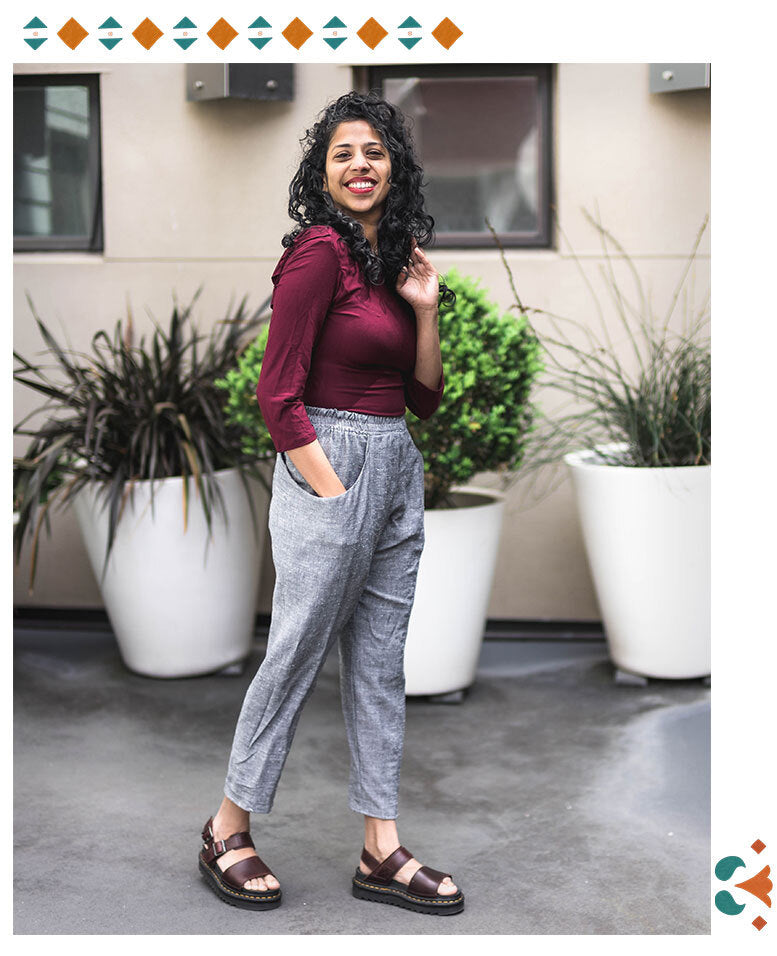
Elastic waisted pants have a special place in my wardrobe. I reach for them all the time. Of all my elastic-waisted pants, the Clyde pants have such a fun take on the pockets that it always makes a statement.
The Pattern
The Clyde pants are made up of 3 panels, large, scooped side pockets and a unique waistband construction. When I first saw the pockets, I fell in love and had to make these pants! The pattern is offered to you on a sliding scale from $0-$15 for the pattern. I urge you to pay what you can manage to spare. You can find the pattern here.

This pattern can be made up using many different fabrics for different silhouettes. You can try them in twill or a lightweight canvas for a more structured look or cotton or rayon depending on what you are looking for. I love a more comfortable relaxed look, so I chose this amazing linen and cotton blend from Fabriclore.
Choosing the size and modifying the pattern

These pants are meant to be loose and comfortable like most elasticated pants. They also come in short or regular lengths which is different from other sewing patterns.
For this pattern, it is best to choose a size according to your waist and hip measurements. Since these pants have an elastic waist, I chose to cut out a size 6 which give me enough room for my hips.
An important aspect of fitting pants is to. Get the crotch fit right. There are many ways to adjust the fit to make it just right for you. A good source to figure out what adjustments you need to do is to first make a fit test garment or a toile. This will not only help you familiarize yourself with the steps involved in sewing the garment, but you will also not be wasting any good fabric if the fit is wrong. If this is your first pair of pants, I highly recommend that you make a fit test garment. Once you have made your toile, try it on and refer to Closet Core Pattern’s Pants fitting adjustment guide to decide what adjustments you need to make for your body.

Usually, with most pants pattern, I reduce the length of the front and back rise to fit my body. For these pants, I shortened the rise by ¾”. Since these pants have multiple Specifically, I shortened the 2 front panels, 2 side panels, 2 back panels and the pockets by ¾”. Remember to keep to the grainlines when you lengthen or shorten the pants.
The Fabric
For this pattern, any light to medium weight fabric would be suitable. I can also see this in a twill weave fabric for a sturdier pair of pants or use a very lightweight rayon or cotton for a relaxed look.
My favorite type of fabric to use for these types of pants are linen blends. I chose to make mine in a neutral grey linen-cotton blend fabric. This fabric is light and soft once washed and feels like secret pyjamas!! ☺
This linen-cotton blend is lighter than what I am used to, like a Robert Kaufman linen-cotton blend. This fabric has more drape to it which suits these pants very well. This fabric will also look great for dresses and tops, I highly recommend you try it out.
Making the Pants
The instructions for making the pants are very straightforward. Just take your time and read all the instructions before you start to make sure you understand all that is said.
Most patterns will ask you to use a serger for finishing seams. However, you do not need a serger (also called an overlocker) to finish seams. Unless I plan to do French seams on my garment, I use the overcast stitch on my machine (along with my overcast foot) to finish the raw edges and it turns out very well. It just takes longer to finish seams with your sewing machine. Here is an image of my finished edge with an overcast stitch. 
You will first finish the side panels of these pants and I love how the beautiful pockets turned out. Just seeing these pockets gets me excited to finish the rest of the pants

Once you finish the side pants, you will attach the front and the back panels to either side of the side panels. If your fabric does not have a front and back (like this one) be careful to sew the correct pieces together. The finished legs will look like this.

The elastic is uniquely added to these pants. Usually, we would make a casing for the elastic and feed it into the casing. But for these pants, one side of the elastic is being sewn onto the pants directly and then folded over twice!

These pants are great for everyday wear and for dressing up depending on what fabric you use!! I absolutely love mine!

Techniques you will learn
If you choose to sew these pants, you will learn to
- Fit pants to your body
- Attaching multiple panels together
- Sewing large pockets
- Attaching an elastic to a garment

Give your pants good press and Enjoy!!!
Let me know how it turned out or sort out any confusion in the comments below
Author: Swetha Mohan
