The Sewing September is so full of energy & the vibe around creating your own clothes & accessories is just incredible. Catching up with all the sewist around the world, this time we are going to taking our sewing up a notch with this new pattern!!!
Do not be worried, it is not complex, we will simply be using more pattern pieces than we have previously used in our journey here.
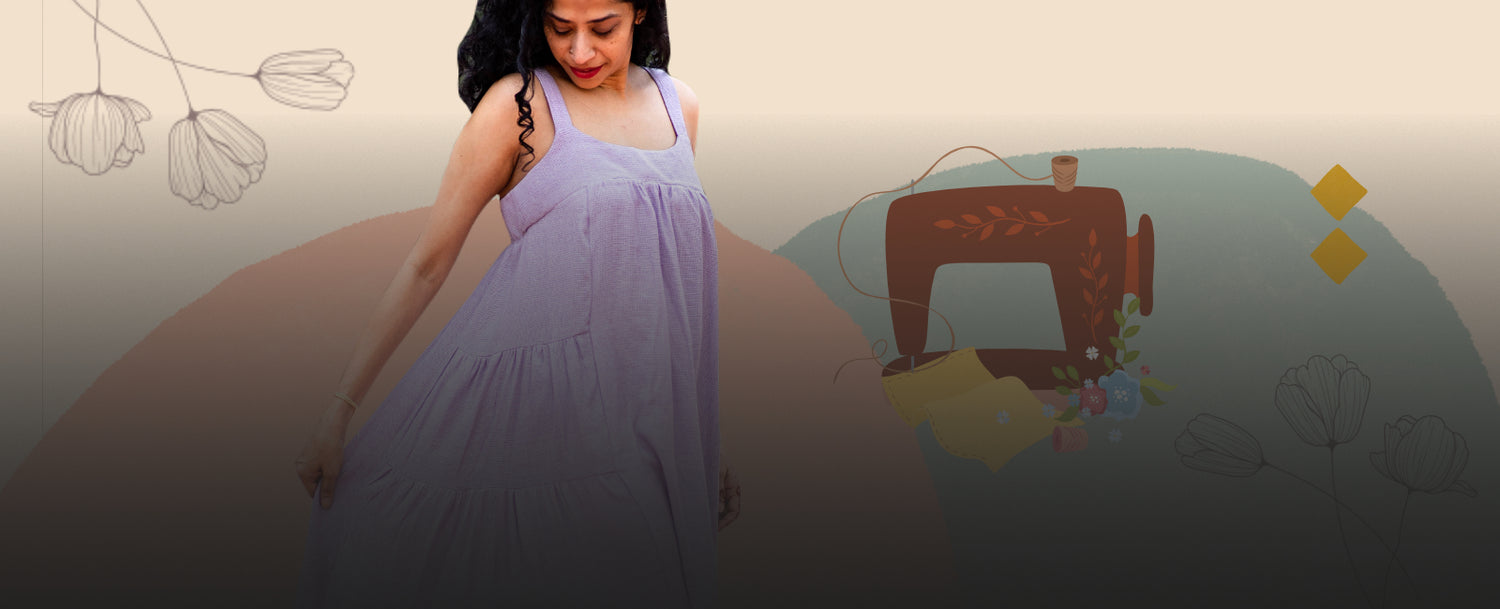
For this post, we will be making the gorgeous Marcel Dress designed by Chalk and Notch.

The Fabric
I chose to use a gorgeous lilac twill weave bamboo cotton fabric. The fabric is gorgeous and supple. The weave can be seen with the different colors used, which adds further to its texture. This lilac color has been missing in my wardrobe and I thought this would be a best opportunity to fill that whole.
When the fabric arrived, I fell in love. The feel of this fabric makes you seem like you are floating. To capture the drape of this fabric, I really had to find a right pattern to do justice.
The fabric does fray so consider your seam finishes. When you wash the fabric, I would also sew the cut ends together so not much of the fabric unravels during wash.
The fabric sews up well. I used a 75/11 needle with the stitch length of 2.0 and it worked out great.
This fabric would look gorgeous for any dress or blouse. I highly recommend you try it out. Fabriclore now ships out swatches if you want to feel the fabric before purchase. Make use of it!
The Pattern
When I finally found the right pattern for this fabric. I was very excited to start making it. I decided to make the Marcel Dress by Chalk and Notch Patterns.

Gabriella, from Chalk and Notch designs patterns that can be worn easily for many occasions. Her style is relaxed yet confident. I absolutely love her patterns and I highly recommend you check them out.
This pattern is a gorgeous long tiered dress. The unique part of this dress is that the tiers are on the sides of the garment which gives it such a gentle look. The bodice is only at the high bust and that itself has 4 pattern pieces. ☺
It comes with a whooping 16 pattern pieces. And the most important thing you will learn is, how to organize yourself so you don’t mix us your pattern pieces.
I do not recommend you use any directional fabric for this pattern, you will end up using a LOT of fabric!
The pattern comes with 3 views, a top, a mini dress and a midi dress. I chose to make view A, the midi dress version.

On to Sewing!
-
Looking through the fit suggestions and the size charts, I chose to cut out a size 8. The pattern is drafted for someone who is 4 inches taller than me. However, I did not make any changes to the length of the pattern, because I wanted a more maxi length dress than a midi dress.
I went ahead and cut out the pattern pieces. - To keep all the pieces in order, I left the paper pattern attached to the fabric after cutting. I only removed the pattern piece before I was going to sew with it. This kept all 16 pieces in order.
- Once I interfaced the bodice pieces, one at the time, I clipped the paper pattern on the piece as well. This is especially important for the bodice as both the bodice and the facing look very similar but the facing is in fact 1/8th of the inch smaller.

- You do not need to do much fitting for this dress. So, choose your size according to your high bust measurement and you should be good.
- The first thing to do is sew the bodice and check the fit of the bodice. Once again remember to slow down and sew the right bodice pieces together.

- Try on the bodice and check if you like the fit. I found that mine was a slightly big under my arm and so I chose to sew my side seams with a 5/8 inch seam allowance instead. I also prefer my high bust to be more fitted. Next time I could simply size down to a size 6 and I may not have to make this adjustment.
- Once the bodice is sewn, you will move onto sewing the side panels. This is the best pattern to help you get confident with gathers, because there is no other way!! ☺
- You will first sew every tier and create a full side panel and then sew the front and back panels to it.

The instructions are straightforward and in fact very detailed. I believe there is also a sew along to help you if you get stuck, check out Chalk and Notch’s page. The dress came together much faster than I thought!
Techniques you will learn
If you choose to make this dress, you will learn to
- Be a master as sewing gathers!
- Sew and fit a very short bodice

Finally give your dress a good press and wear it proudly! The silhouette is such that you don't even need to accessorise much, just wear & go about your day.
