
All collections
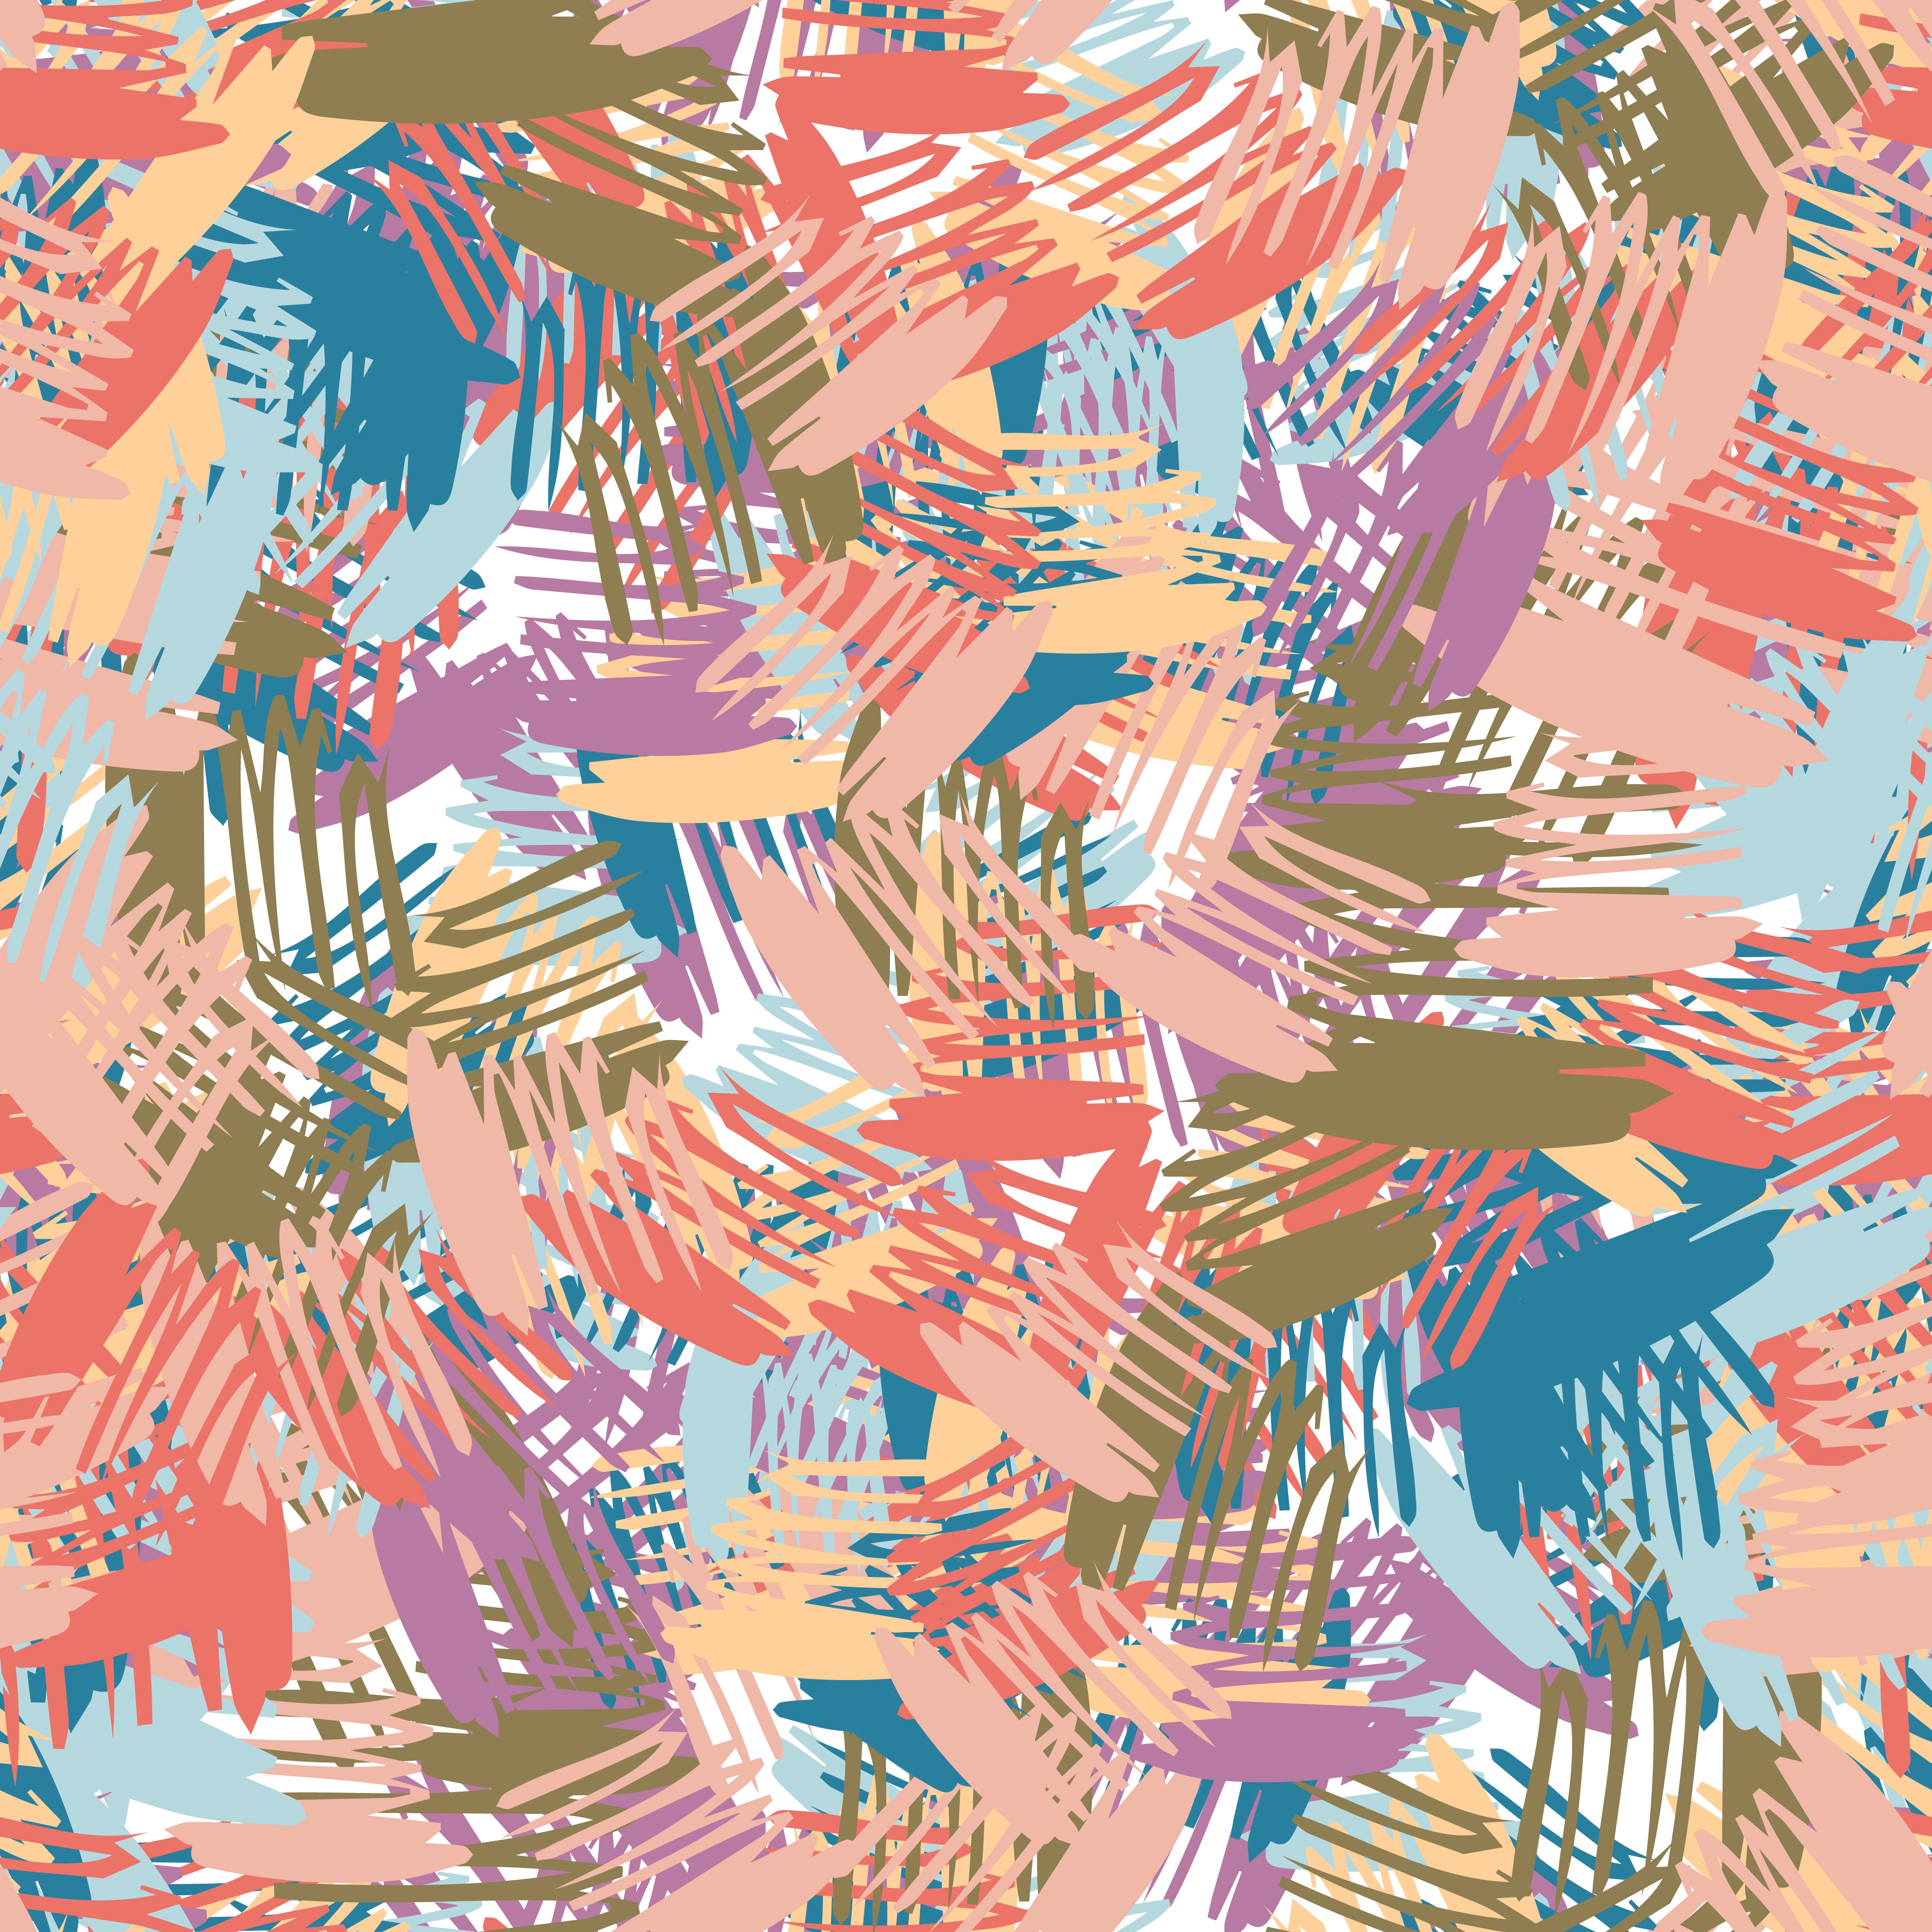
Abstract Pattern
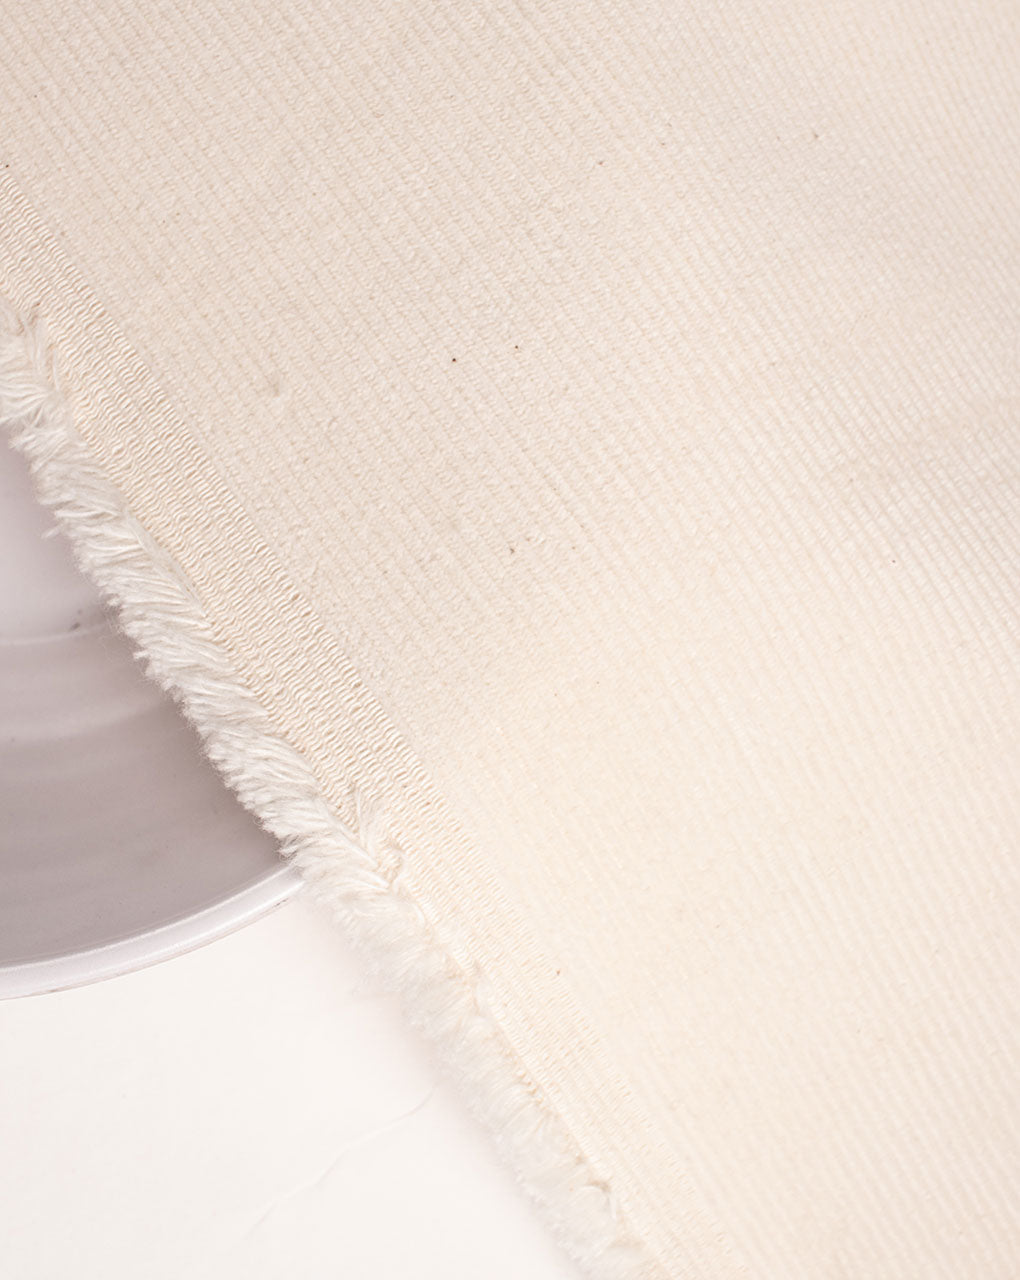
Cotton Corduroy Fabric
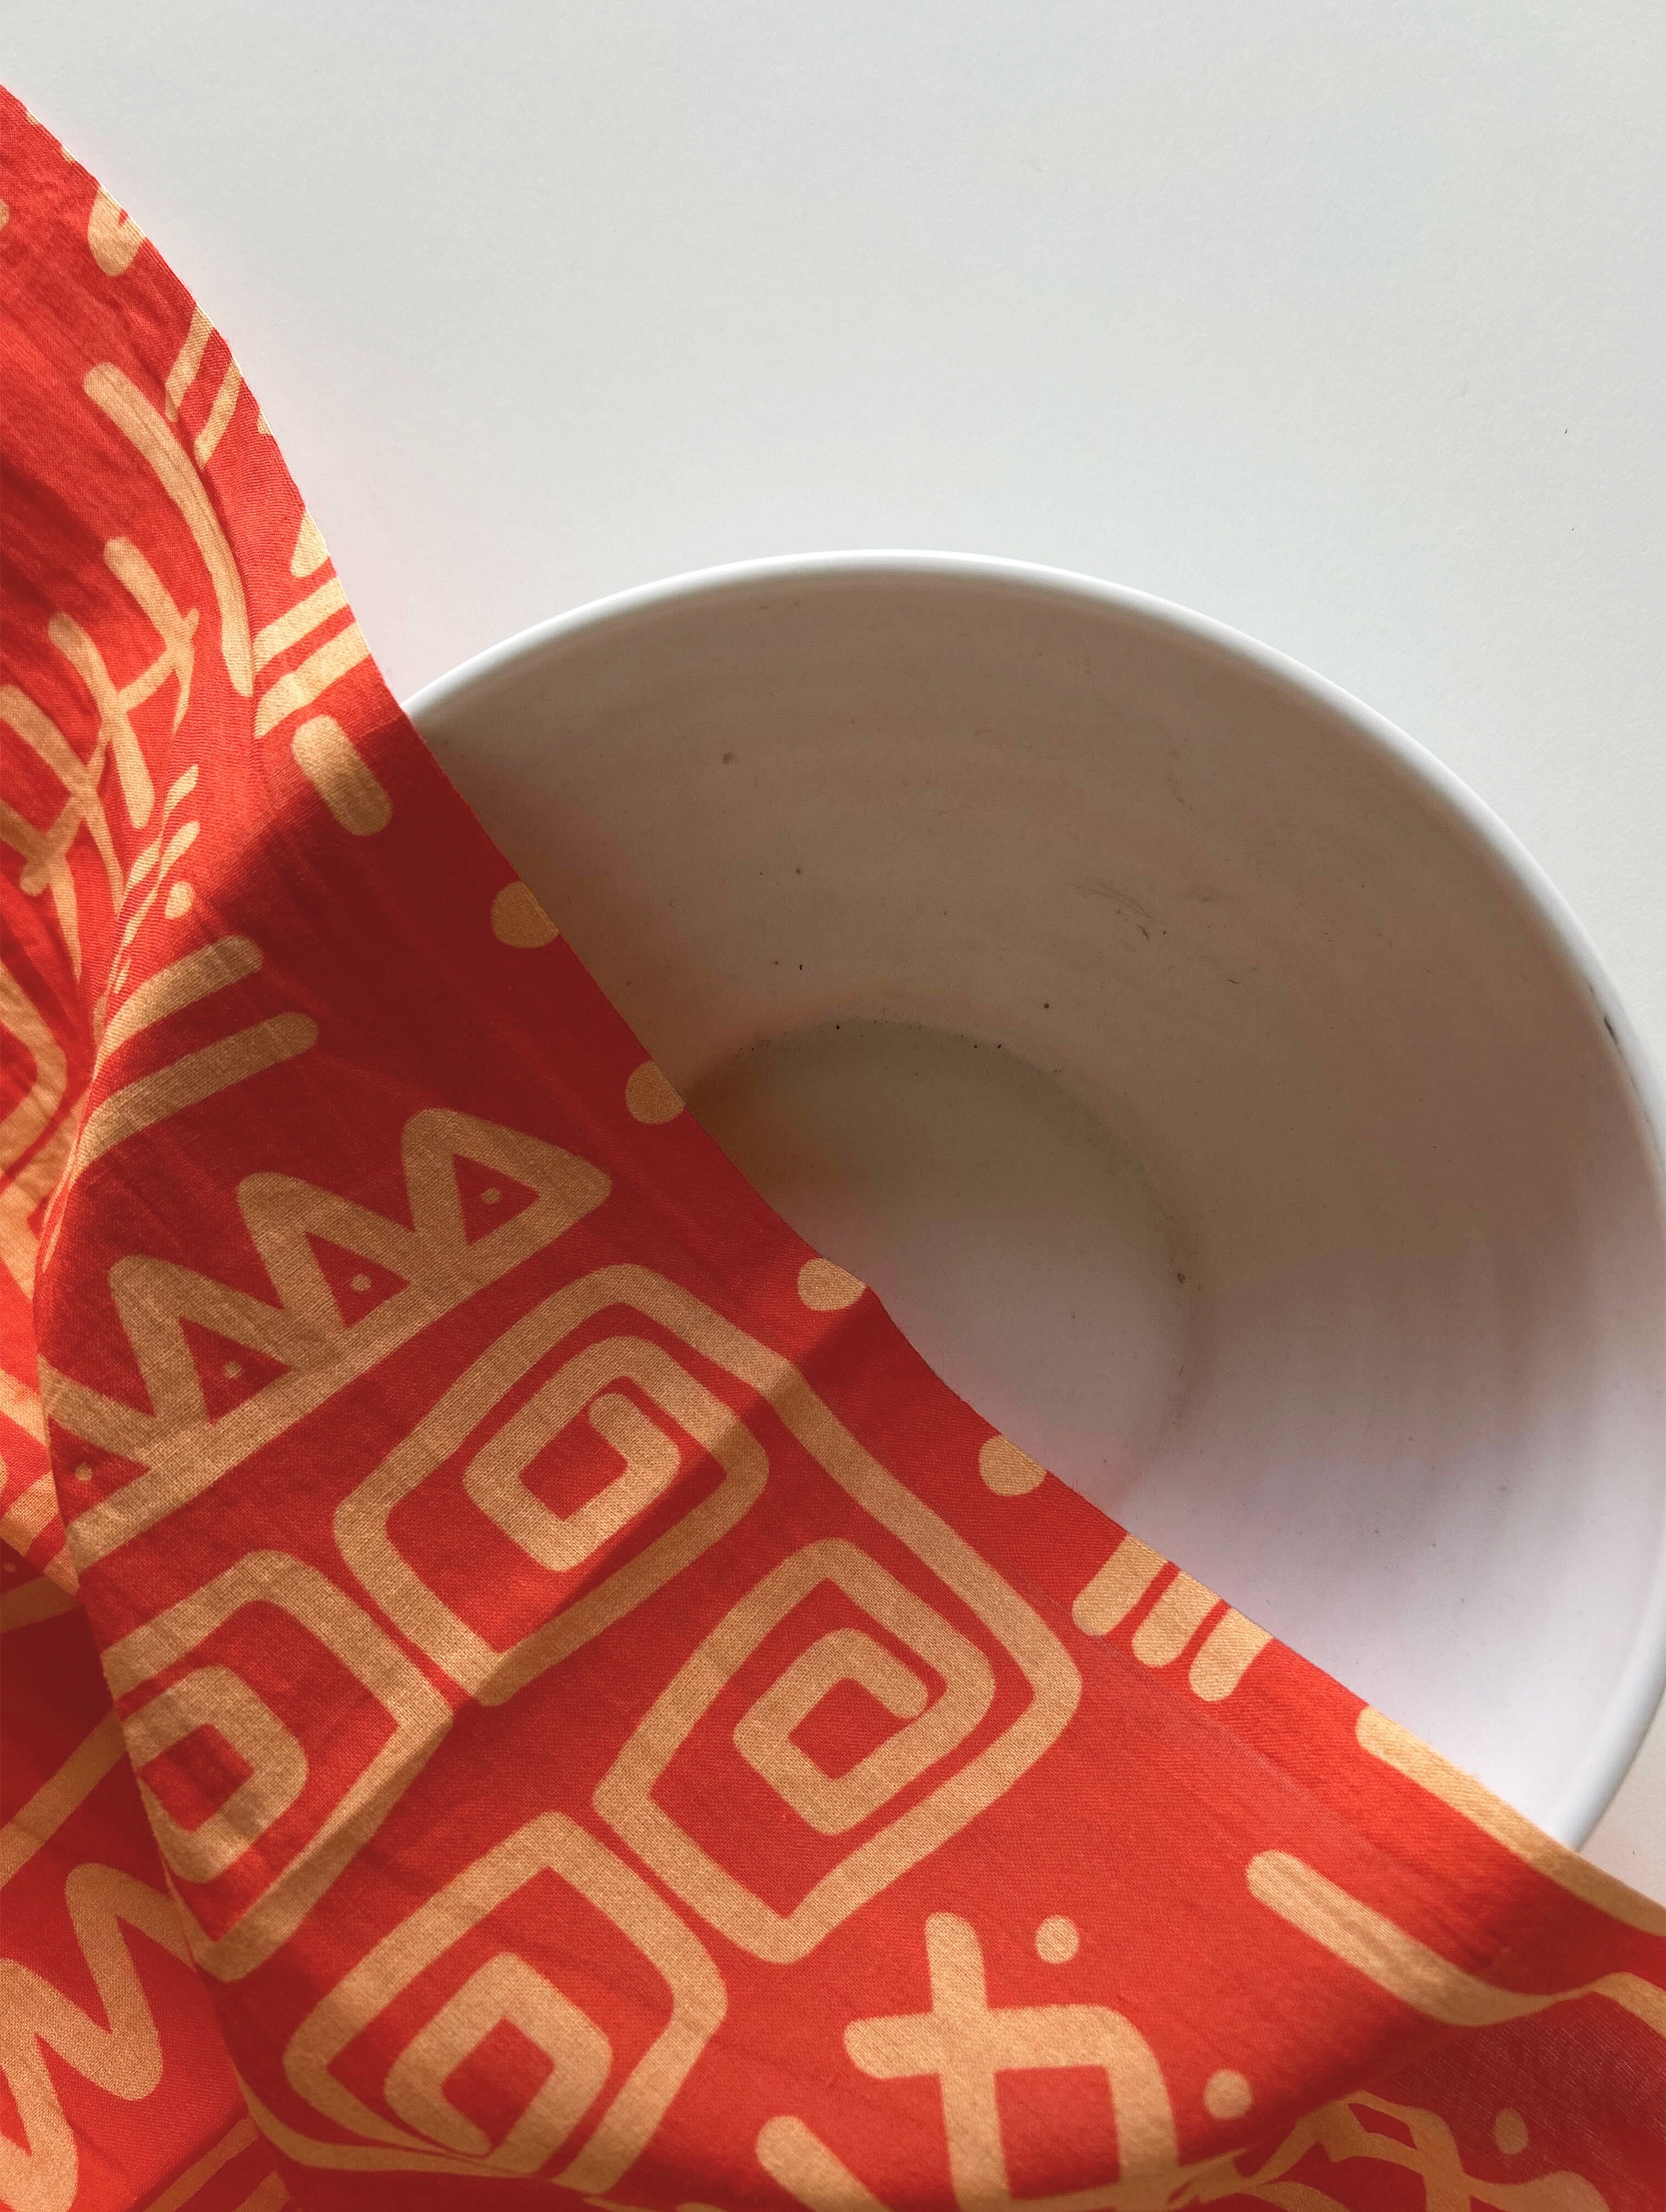
Cotton Digital Print Fabric
Cotton Fabric
Cotton Mill Dyed Fabric

Cotton Poplin Fabric

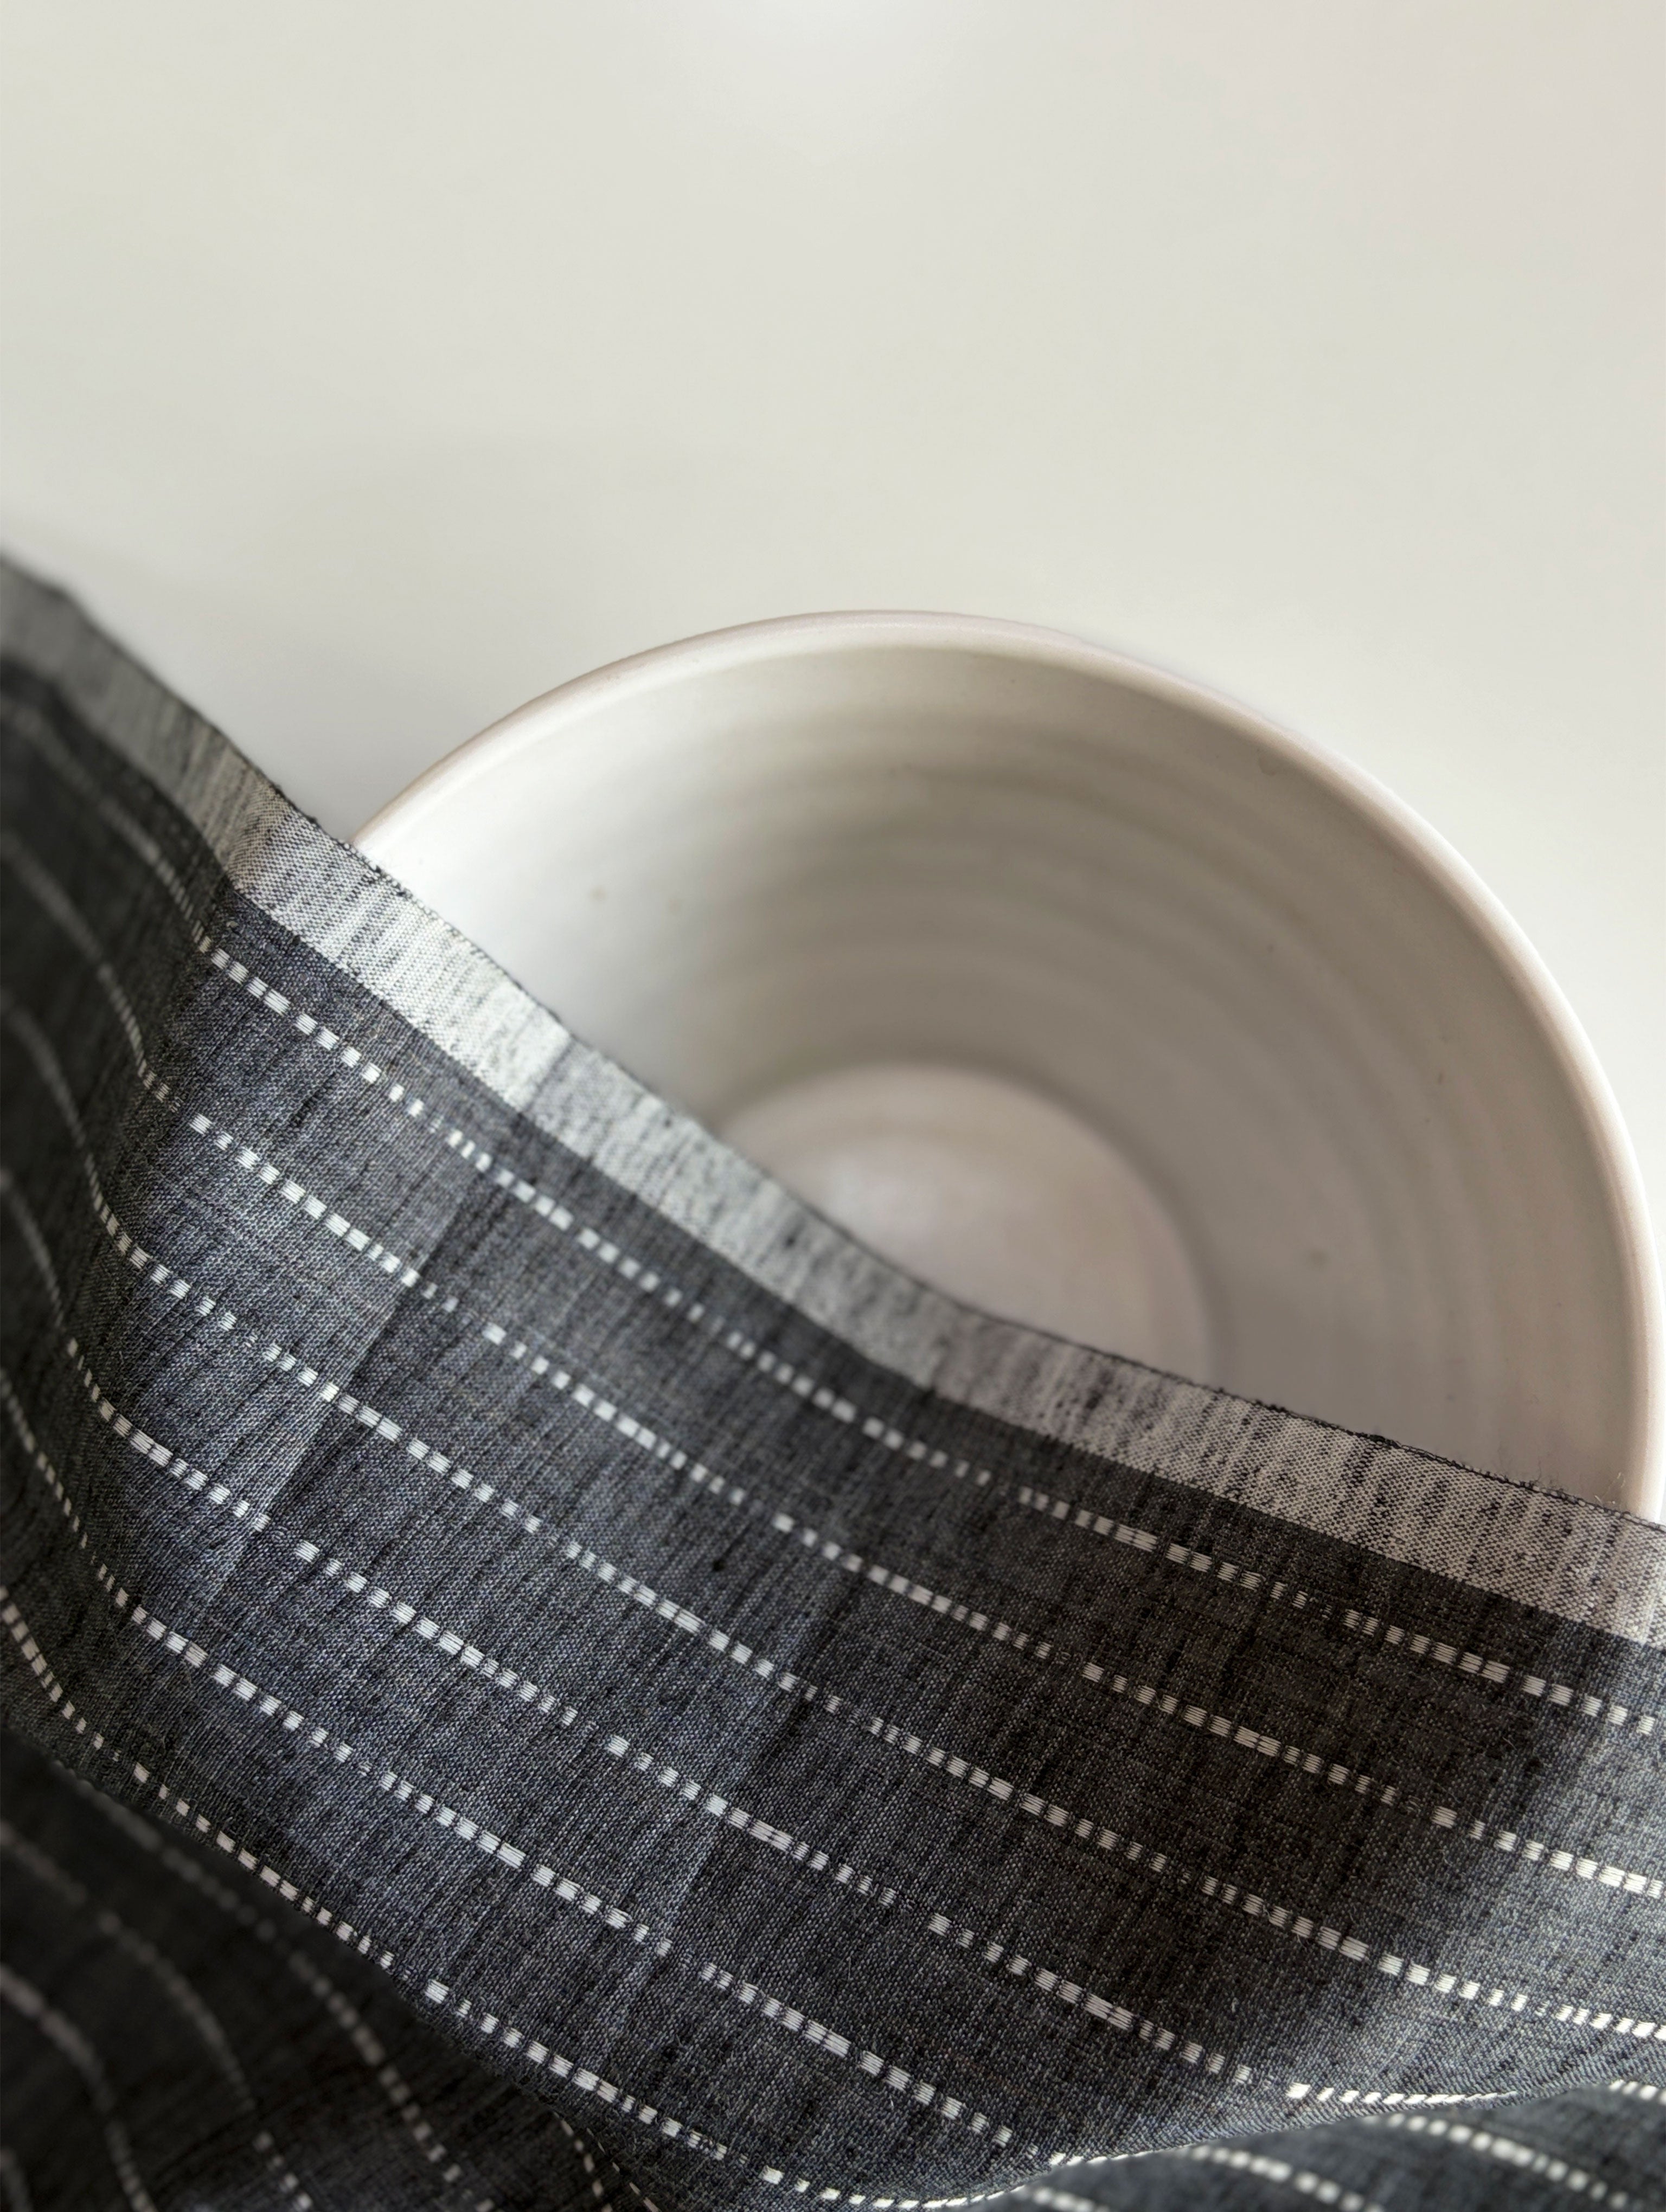
Cotton Silk Fabric
Cotton Swatch
Cotton Viscose Fabric

Cotton Viscose RFD Fabric

Cotton Yarn Dyed Fabric

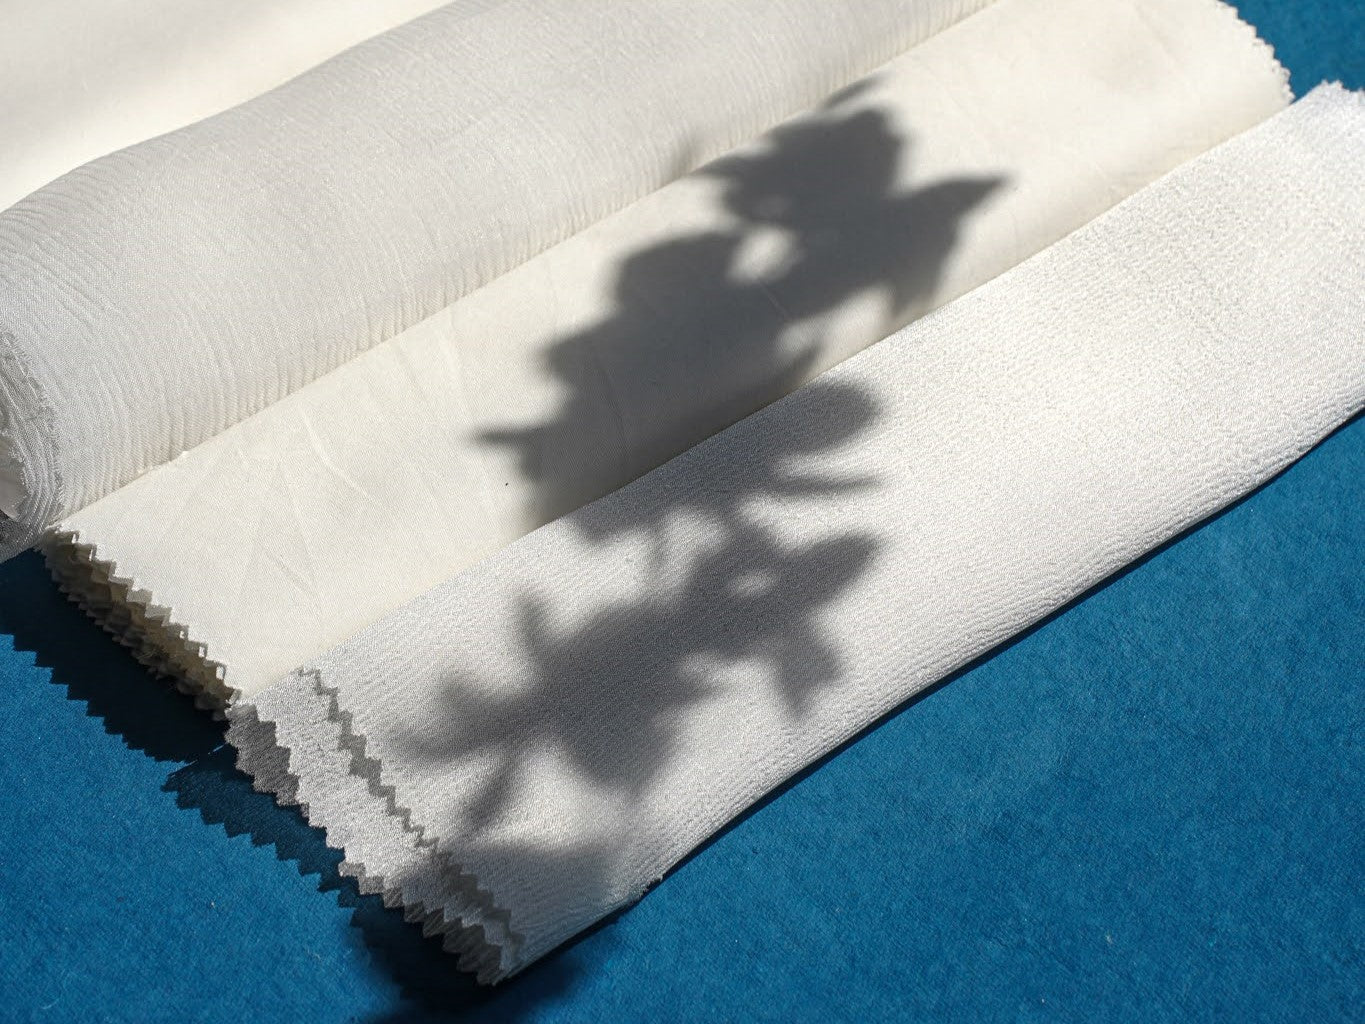
Crepe Fabric
Customized Digital Printed Fabric
Dabu Fabric Wholesale

Denim Fabric
Denim Fabric

Denim Fabric Sample Yardage

Designs & Patterns
Digital Catalogue
Digital Print Sample Yardage

Dobby
Dobby Swatch
Dobby Weaves Fabric
Dupatta Fabric
Dupion Silk

Dyeable Fabrics

Dyed Fabric
Ecovero Fabric
Embellished Fabric Wholesale

Embroidery Fabric Wholesale
Ethinic Wear Fabric

Fabric for Gown

Fabric for Jackets

Fabric for Kurta & Kurti

Fabric for Men

Fabric for Skirts & Palazzos
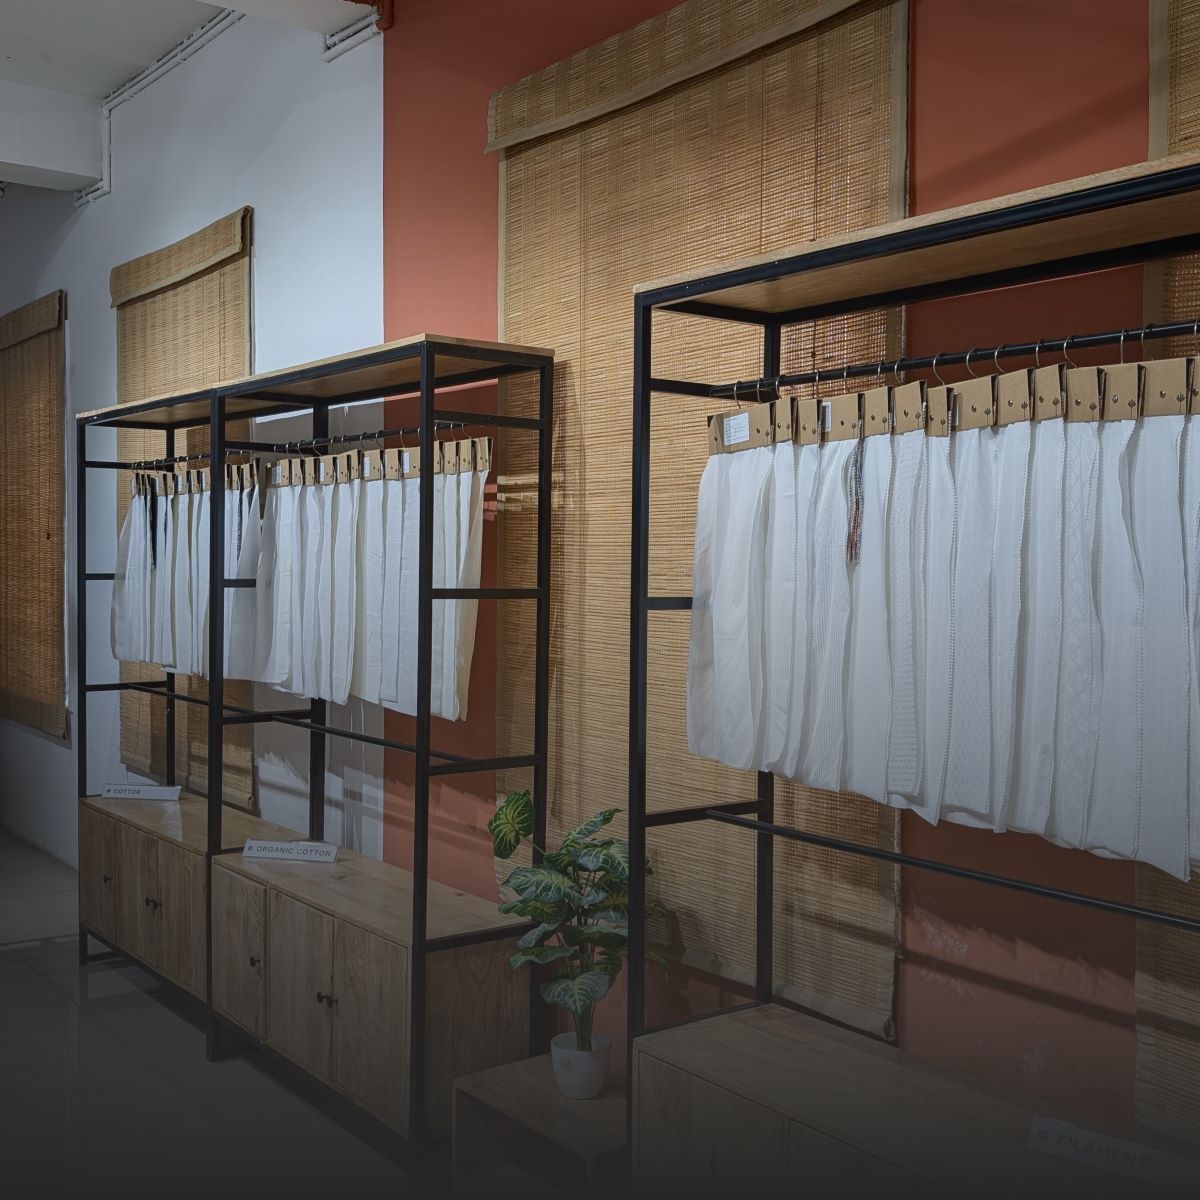
Fabric Sample Store
Fabric Swatch Catalogue
Fabric Swatch in Abu Dhabi
Fabric Swatch in Ahmedabad
Fabric Swatch in Ajman
Fabric Swatch in Ajmer
Fabric Swatch in Albania
Fabric Swatch in Algeria
Fabric Swatch in Amritsar
Fabric Swatch in Angola
Fabric Swatch in Armenia
Fabric Swatch in Asia