Let's make this month all about pants.
For the previous post, we discussed making the Clyde Work pants which was more fitted pants with panels. For this post, I will talk another easy fitting pants pattern - the Winslow Culottes.
The Pattern
The Winslow culottes pattern is also from Helen’s closet patterns. It is another wardrobe staple and can be sewn up in different types of woven fabric.
The Winslow has front and back large box pleats and can be made in 4 different lengths. For this post, I chose to make View D.

The culottes have a waistband and an invisible zipper on the back. We will also be using some fusible interfacing for the waistband.
Interfacing is an important part of sewing a sturdy garment. I prefer to use fusible interfacing and my favorite is the Pellon SF101 shape-flex. If you cannot find this exact interfacing, you maybe be able to find an alternative that is available near you.
Choosing the size and modifying the pattern
Looking through Helen’s size chart and the Finished garment measurements, I chose to cut out a size 8.
Since these pants sit at your natural waist and have arge box pleats, I chose my size according my to my waist measurement.

To this pattern, I performed some fit adjustments that I do to all pants. Usually I would compare it to another pattern that fits me well and make my changes accordingly. If you do not have another pair of pant’s pattern to compare, I would recommend you make a toile looking at both the size chart and the finished garment measurements. The fit of your toile will inform you what changes you need to do.

This pattern is designed for someone who is 5’6”. I will need to shorten the pattern by 3” overall. The main part that I make changes to is the front and back rise. For this pattern, I found the back rise to be much bigger in proportion. Here are the changes I made.
- Shorten the front rise by 1”
- Shortened the back rise by 1.5”
- Shorten the front of the pants by 2”
- Shortened the back of the pants by 1.5”
This give me an overall 3” shorter pants pants overall.
With these adjustments done to the pants, I moved on to cutting out the fabric.
The Fabric
For this pattern, we can choose so many different types of fabrics. Check out all the different Winslow culottes on Instagram.
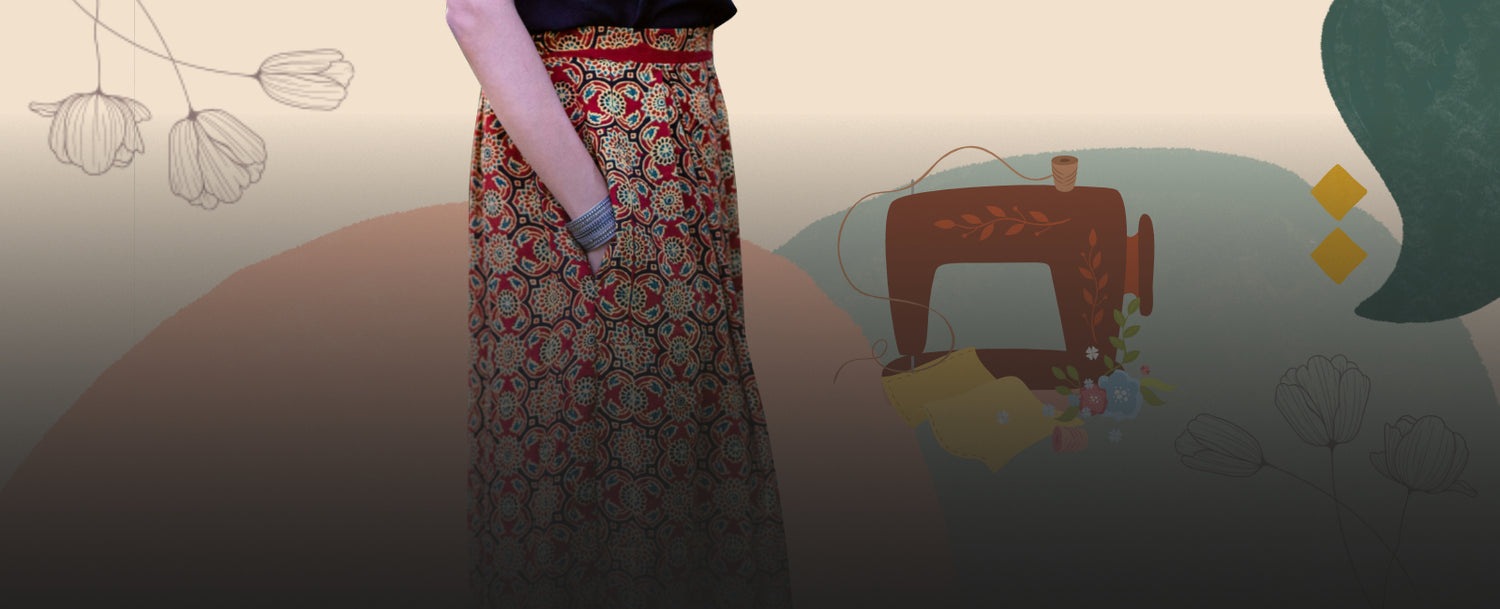
I chose to make mine in a beautiful natural dye, hand block printed santoon viscose fabric from Fabriclore. Check out all other Santoon fabrics here.
The fabric has such a beautiful drape, it was perfect for the Winslow. The natural dye is vibrant and the design is very traditional. When it comes to cutting such slippery fabrics, it can be hard. There are many online videos to help you learn to cut slippery fabrics on grain like the Made to Sew’s video. One way to help cutting is to also cut your fabrics flat and not on fold. This allows for much better control and for less wastage. I cut my fabric flat (as one layer). If you do it this way, make sure you cut 2 fronts and back that mirror each other. Otherwise you will end up with 2 lefts or 2 rights of the same leg and you will not be able to use the fabric.
For this post, I did not want to sew any closures (like zippers) for these pants, I therefore decided to make these culottes with an elasticated back waistband. Because of this, the waistband pattern that comes with the pattern will not be used. You can of course choose to follow the exact instructions and add the zipper.

Since I wanted an elastic back waistband, I did not cut out the waistband pattern. I will be making a new pattern piece for the waistband.
Sewing up the Winslow
If you have been following along with this blog series, we have previously used Helen’s Ashton top pattern. Helen’s instructions are exceptional, most important for a beginner sewist.
As usual, the instructions are great and the pants came together very well.
Since I did not want to add any closure and add an elasticated waist, here are the steps we will follow from the main instructions If you are sewing a elasticated back.
- Sew the box pleats only in the front pattern pieces, not the back
- Add the pocket pieces to the front and back of the pants
- Under-stitch the pockets

- Sew the front and back of each leg together along the side seams and the pockets.
- Sew the inseam of both legs together
- Sew the crotch seam all the way through because we are not adding any zippers.
New Waistband Pattern
You will not have what looks like pants. Your front will have 2 large box pleats and the back will not have any pleats.

- Take a measuring tape and measure the circumference of the waist.
- Now let’s do some math.
- Waistband height = width of your elastic X2 + seam allowance 1.25”
• My elastic was 1.5” wide so my waistband height will be 4.25”
- Length of the waistband = Circumference of the waist / 2 + seam allowance 1.25” + 0.25” for wiggle room
• My circumference was 44.5”. so my waistband will be 22.75” long - Draw out a new waistband pattern piece.

- Cut out a new waistband on the fold
- Measure the length of the front of the pants between the side seams
- Mine measured 18”
- Cut out a piece of interfacing that is 18” long and 4.25” height.
- Attach the interfacing to middle of the waistband
- Fold the waistband lengthwise wrong sides together and press
- Sew the waistband to the pants leaving about 2” openings on either side of the side seams
- Measure the back of your natural waist and give yourself an extra inch or 2. Cut the elastic to that length. I prefer to use knitted elastic for my waist.
- Put the elastic into the back casing making sure not to twist it.
- Sew it down to one side seam using 2 rows of stitches
- Pin the. Other side and try the pants on. Check the fit.
- Once fit is OK. Sew down the other side of the elastic and close the open waist band seams. Finish the seams
- Hem the pants!
All details of this hack and more pictures to help you can also be found on Helen’s blog post here. Helen has also generously given all Fabriclore customers a 20% discount on the pattern when using a code - winslowfabriclore2021
Techniques you will learn
If you choose to make the pants you will learn to
- Fit culottes
- Sew box pleats
- Sew in-seam pockets
- Add an elastic waistband

Final Thoughts
I absolutely love my new Winslow culottes. I do plan to make more in other fabrics and maybe with a matching top. You can also use your Ashton top and the Winslow culottes pattern to make a new jumpsuit!!
The possibilities are endless. I hope you explore & do share in the comments below! Let's inspire each other.
